The Master
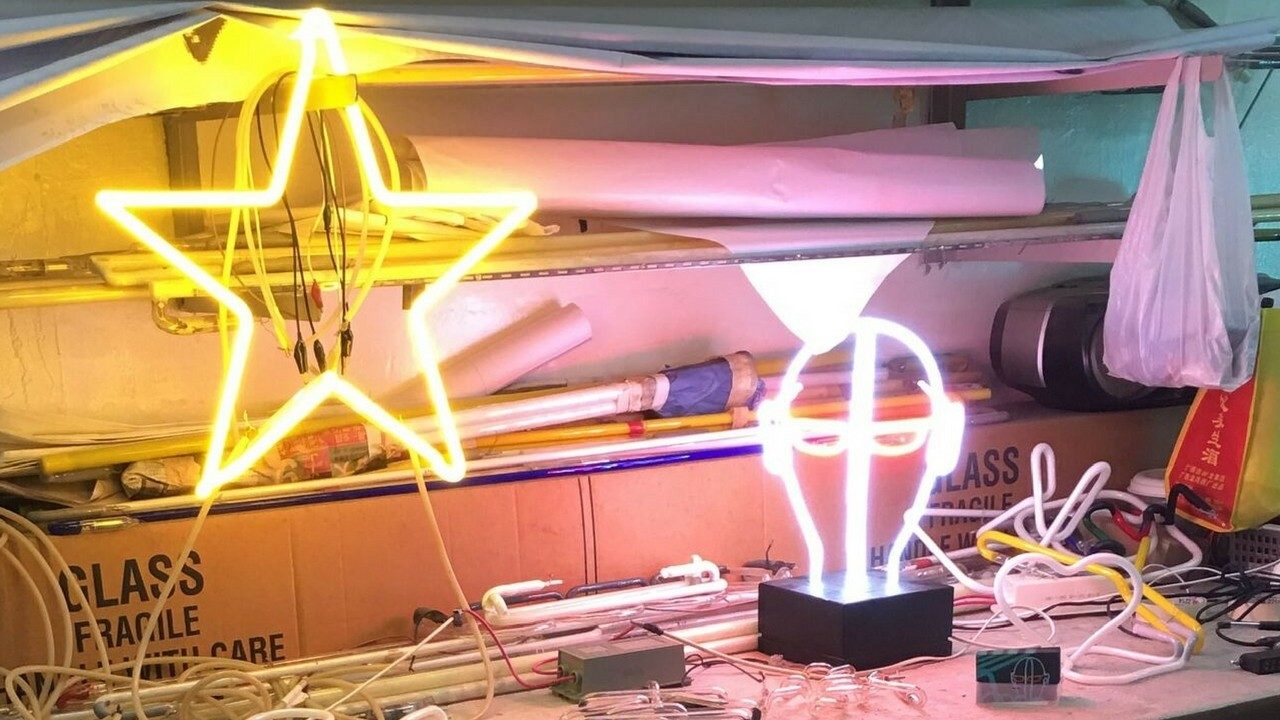
Tucked away in a nondescript industrial building, down a cobwebbed and dimly lit hallway is one of Hong Kong’s last neon sign makers. There are maybe ten others in the territory as knowledgeable as he is. Most have retired or found other work. Only one is under fifty.
Making neon is not an easy job. Crafting a sign requires an artist’s hands and an engineer’s mind. Each neon tube requires a precise mix of internal gases and electrical current to illuminate. Each neon design is formed of fragile tubes that need to be painstakingly softened with flame and shaped by hand.
This precision is something that can only be achieved after years of dedicated practice. The glass neon tubes are especially fickle to work with. Too much heat and too much pressure in the wrong place can quickly deform a tube and ruin an entire sign.
Master Wu has dedicated over thirty years to his practice. His father was a neon man too, working outside to install neon signs high above the ground. Put off by the precarious work, he pushed his son to apprentice in a sign making workshop. The controlled environment was much more attractive to a concerned father than working several stories up without safety equipment.
The Process
In the workshop, Master Wu starts with a drawing on a sheet of wax paper. After a quick inspection, the design is flipped face down onto the worktable. A neon maker works from front to back, bending the neon tubes to follow the shape of the design so that the front of the sign obscures the bends and workings behind it. The viewer should only see a uniform flat front.
He works from the middle of outwards. It provides flexibility and ensures that the designs are balanced from top to bottom and side to side. He plans each bend and twist in advance, aiming to achieve a balance between economy of material, fluidity of design and the minimization of any tight corners that could burn his fingers on the hot glass tubes. He uses a white chalk crayon to mark each bend, as it won’t melt or burn off when subject to the flame of a blowtorch.
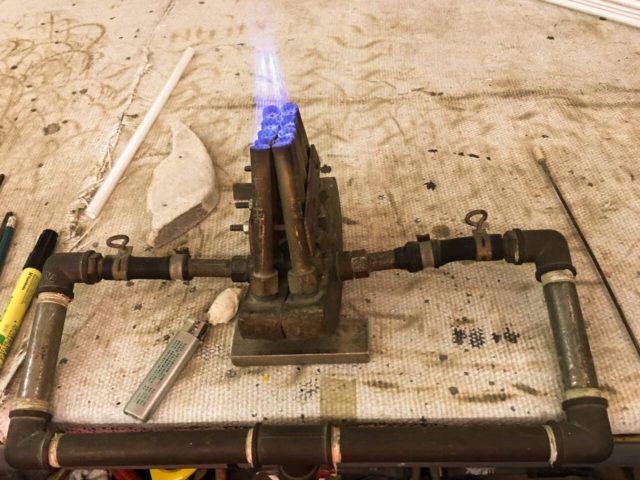
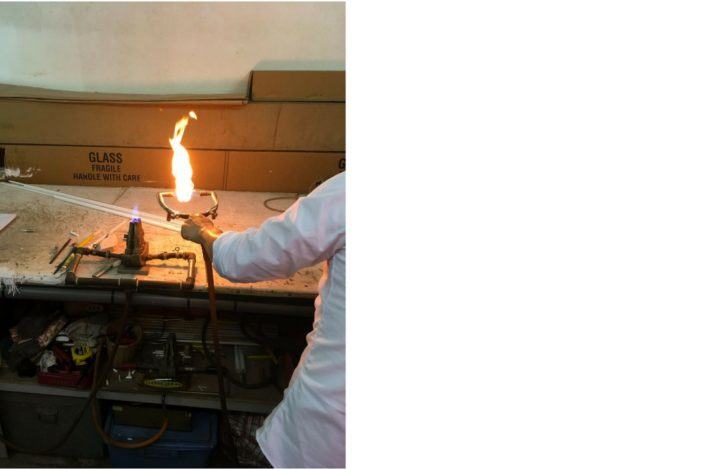
Master Wu’s favoured blowtorch is aptly nicknamed the ‘five fingers’. Fed by a huge yellow tank of pressurised gas, through a garden hose and some rusty pipes sealed with white plumbing tape, half a dozen Bunsen burners concentrate their flames into one intense point. The apex of the flame heats a section of the glass neon tube to around a thousand degrees, affording Master Wu a precious ten to twenty seconds to form it before it cools and sets. While he forms each bend, Master Wu also blows carefully into one end of the glass tube. This pressure prevents the walls of the hot softened section from collapsing inwards and ruining the design.
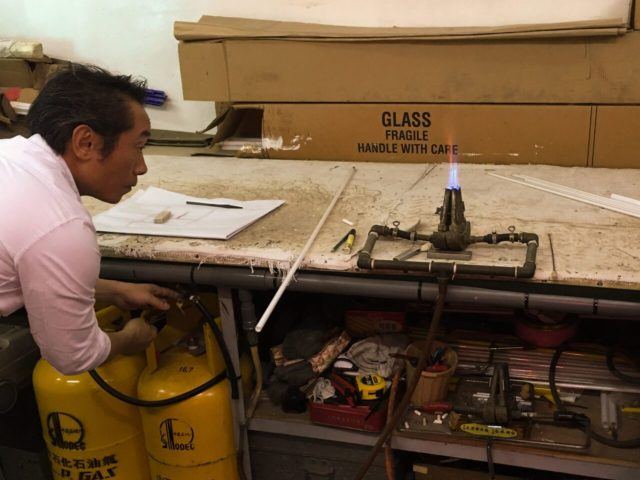
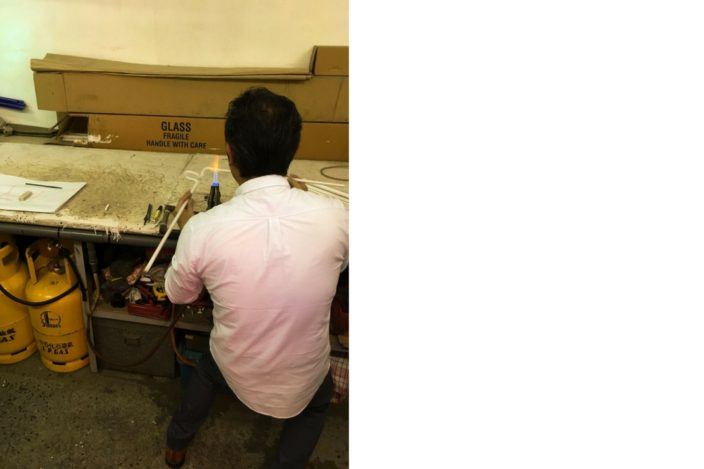
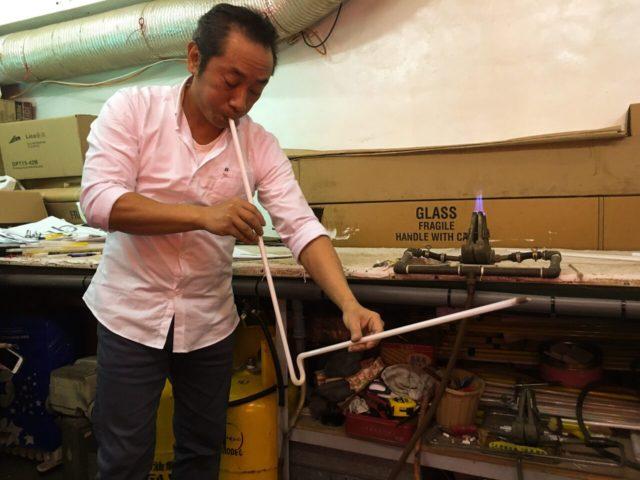
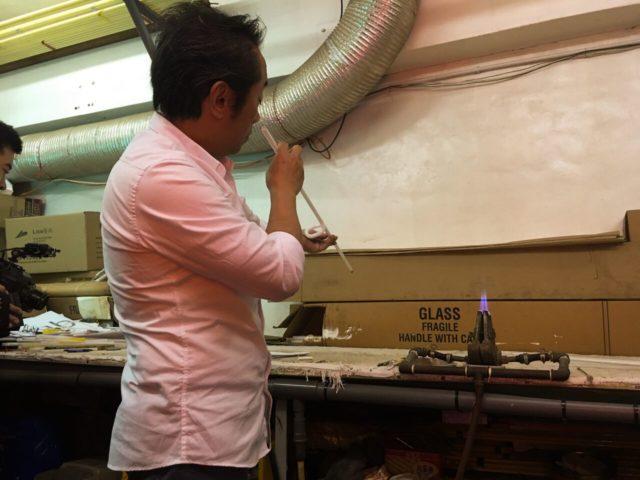
Each bend is delicately orchestrated. The chalked spot must be heated to just the right temperature to let it bend but not melt. The glass has to be formed at just the right angle to remain true to the design on paper. The glass must be blown into at just the right pressure to maintains its structure without ballooning outwards. Master Wu does everything by sight, by feel and by intuition.
Satisfied by the final shape, the two ends of the neon tube need to be finished. Each end is heated and then scored with a cold file to cut it to the desired length. Each end is then cleaned to make way for an electrode, which will be melted onto the tube as one airtight piece. The electrodes will later act as a cap on either end of the tube, and direct an electrical current into the neon gas. To achieve this, Master Wu uses the ‘five fingers’ to ignite a more precise hand tool which directs two smaller jets of flame into a single burning point. He places the electrode and the neon tube together and welds the seams in place with careful movements of the double ended blow torch.
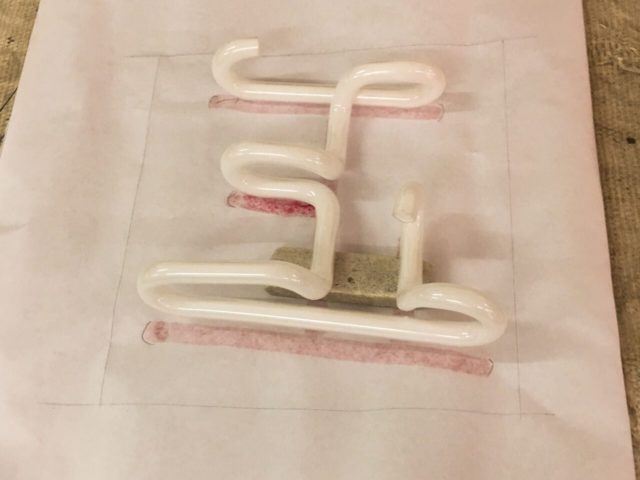
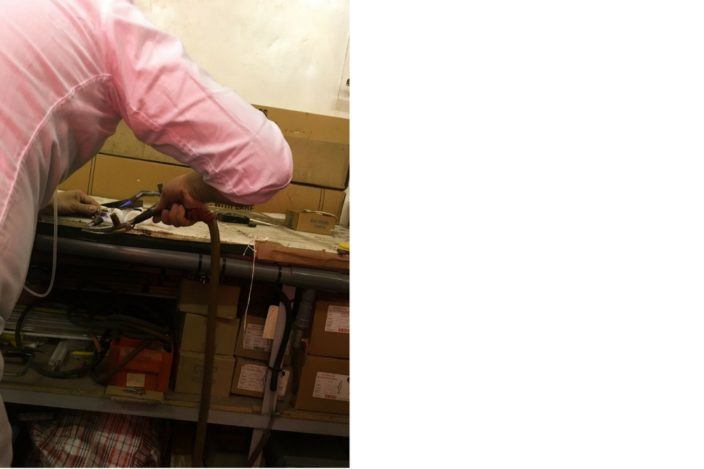
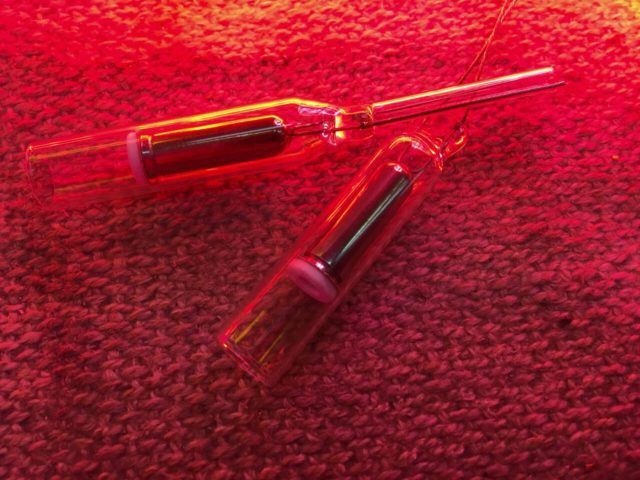
Now comes the complicated part. One of the electrodes has a nipple shaped opening at its tip. This opening allows it to be connected to a vacuum pump via another glass tube called a ‘chicken intestine’. Once the electrode with the nipple is fused into the intestine, and the intestine is then fused into an aperture on the vacuum pump, Master Wu can start filling the whole assembly with gas.
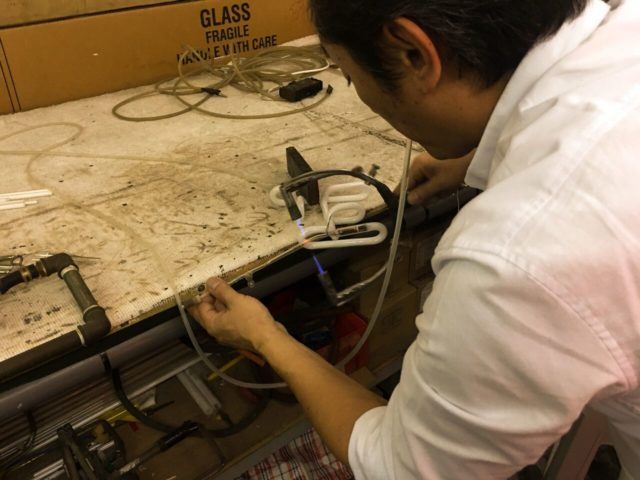
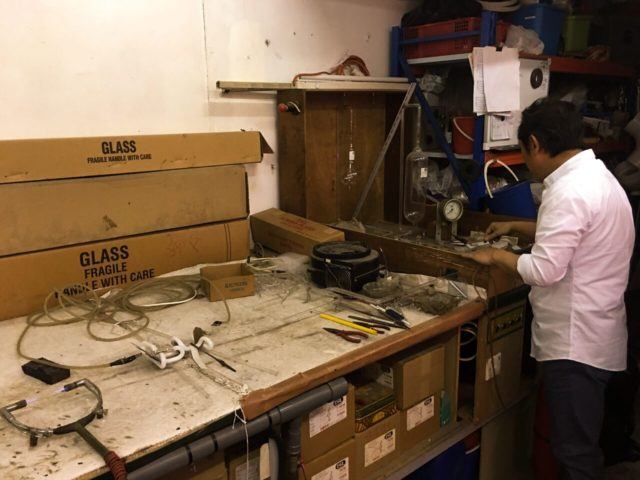
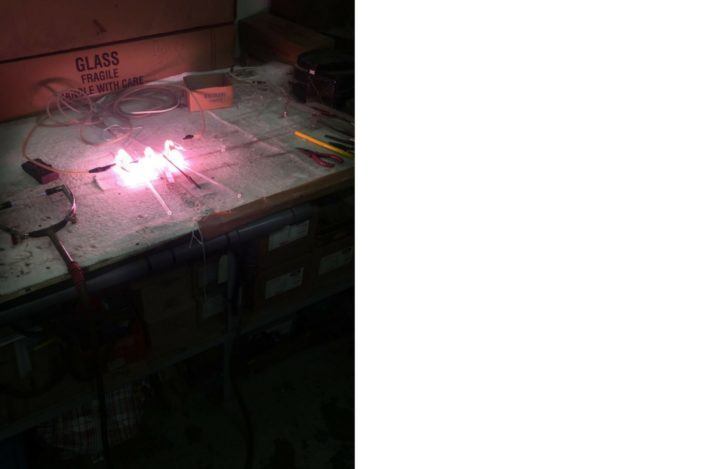
With the flip of a switch, an electric bellows groans into life, a dial begins to whir and the existing air in the tube is pumped out to make way for heavier neon and argon gasses. To make sure the evacuation is complete, Master Wu clamps a tarnished crocodile clip onto each open electrode and runs a current through the tube. In a prelude to its final form, the tube pulses brightly as the last remaining oxygen is burned off.
Burning off the Last Oxygen
Depending on the colour of the sign the tube will be filled with either neon gas or argon gas. Neon gas is typically used in red signs, while argon is typically used in signs with other colours. This is because neon burns red, while argon, when mixed with mercury, burns with a white-purplish flame. This can be paired with coloured phosphorous coatings on the inside of the tubes to create a variety of other colours.
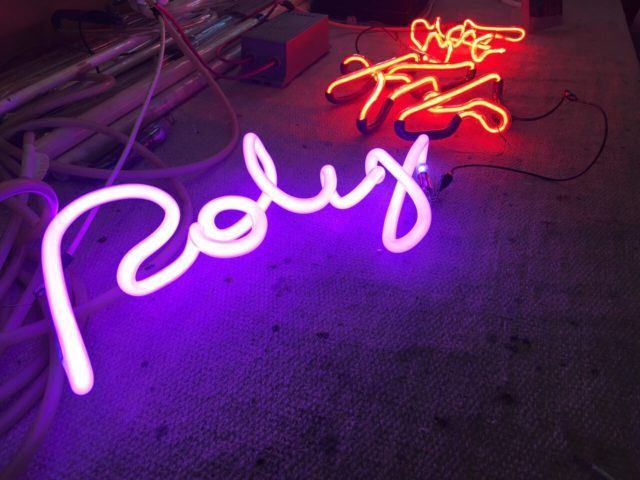
Master Wu is creating a pink sign, so he needs to fill the tube with argon and then with a small drop of mercury. With the flick of a switch, the direction of the pump is reversed, and argon is spirited from a bulbous glass chamber into the neon sign. The whole process is magical in a kind of Victorian way, eschewing anything digital or even vaguely modern. Master Wu still consults a dog-eared card printed in an ancient typeface to establish the right concentration of gasses to inject.
Once the sign is filled, the ‘chicken intestine’ is cauterised at the base of the pump. Anticipating the use of argon gas, Master Wu has previously placed a small drop of mercury in a tiny reservoir halfway along the length of the intestine before attaching it to the electrode and the pump. He now takes the sign in both hands and delicately taps the mercury from its reservoir. It slides menacingly down the thin glass intestine and pools in the first bend it can find. Master Wu must then alternately shake and spin the finished sign, so that the mercury can pass through the nipple of the top electrode, and roll through the neon tube into the opposite electrode like a marble in a game.
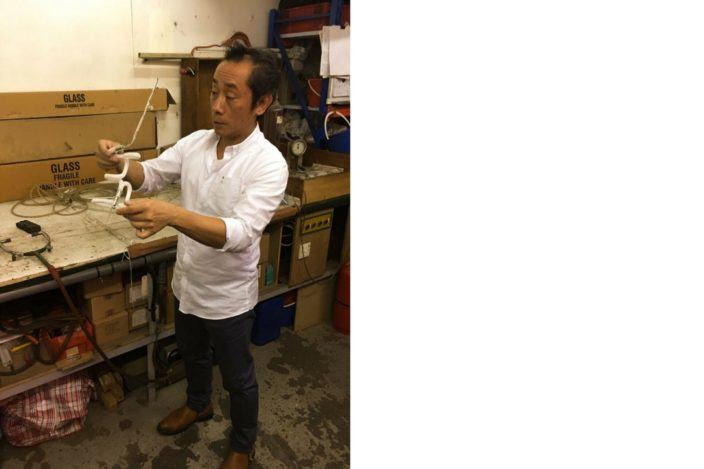
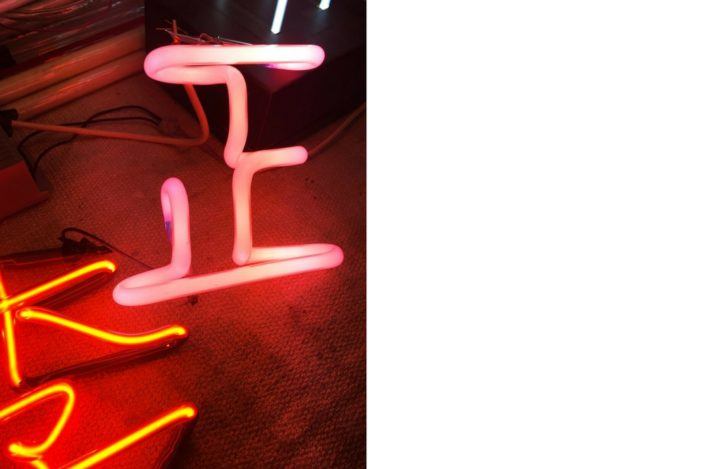
Finally, Master Wu can then cauterise the electrode connected to the ‘chicken intestine’ and free the sign from this extra appendage. With crocodile clips reattached to each electrode, and an electric current applied the sign flickers into life with an innocent pink glow. A neon sign is born.
Learning the Craft
Now it’s our turn. The first of us sidles nervously towards the naked flames of the burners. They gingerly heat some test sections under the watchful eye of Master Wu, who delivers precise instructions with the calmness of an old teacher:
“Lower. Closer to the flame.”
“Okay, now blow.”
“Watch your fingers. Not so close.”
On the first few attempts no one comes close to forming the tubes with any degree of consistency or precision. They sag and bend and flop and collapse in a flaccid pile on the worktop.
“How many tubes do you break in a design?” one of the exasperated students asks.
“None these days”, says Master Wu with the semblance of a grin. “But a lot when I first started”, he adds modestly as well all chuckle. When asked if he will provide more lessons, Master Wu explains patiently,
“I’m happy to train the next generation, but they must be committed. If they give up easily then it’s a waste of everyone’s time. If they are serious, and they buy the equipment and practice a lot then I am more than happy to help.”
More Information
This workshop was organised by The Hong Kong Neon Heritage. The Hong Kong Neon Heritage is a community think tank aiming ‘to find creative and effective ways to save the Hong Kong vintage neon signs’. For more information on future activities please visit and follow their Facebook page, The Hong Kong Neon Heritage – 香港霓虹承光.
If you liked the article, and are inspired to share your Hong Kong story, please contact the author Niall Westley. He is a local copywriter and designer who helps small organisations and businesses build a passionate following by creating awesome content people love to read and to share. He currently offers a free one hour consultation to all visitors from HKHUB.
To see a sample of his commercial and personal work, please feel free to pop by to his blog funkeh.com, and check out his Instagram account @funkeh_co.


